Activation
Activate Airlock after the stack is healthy and its URL opens in a browser. The setup flow creates the first administrator account, configures AI providers and defaults, and optionally connects a Telegram manager bot.
1. Create the administrator account
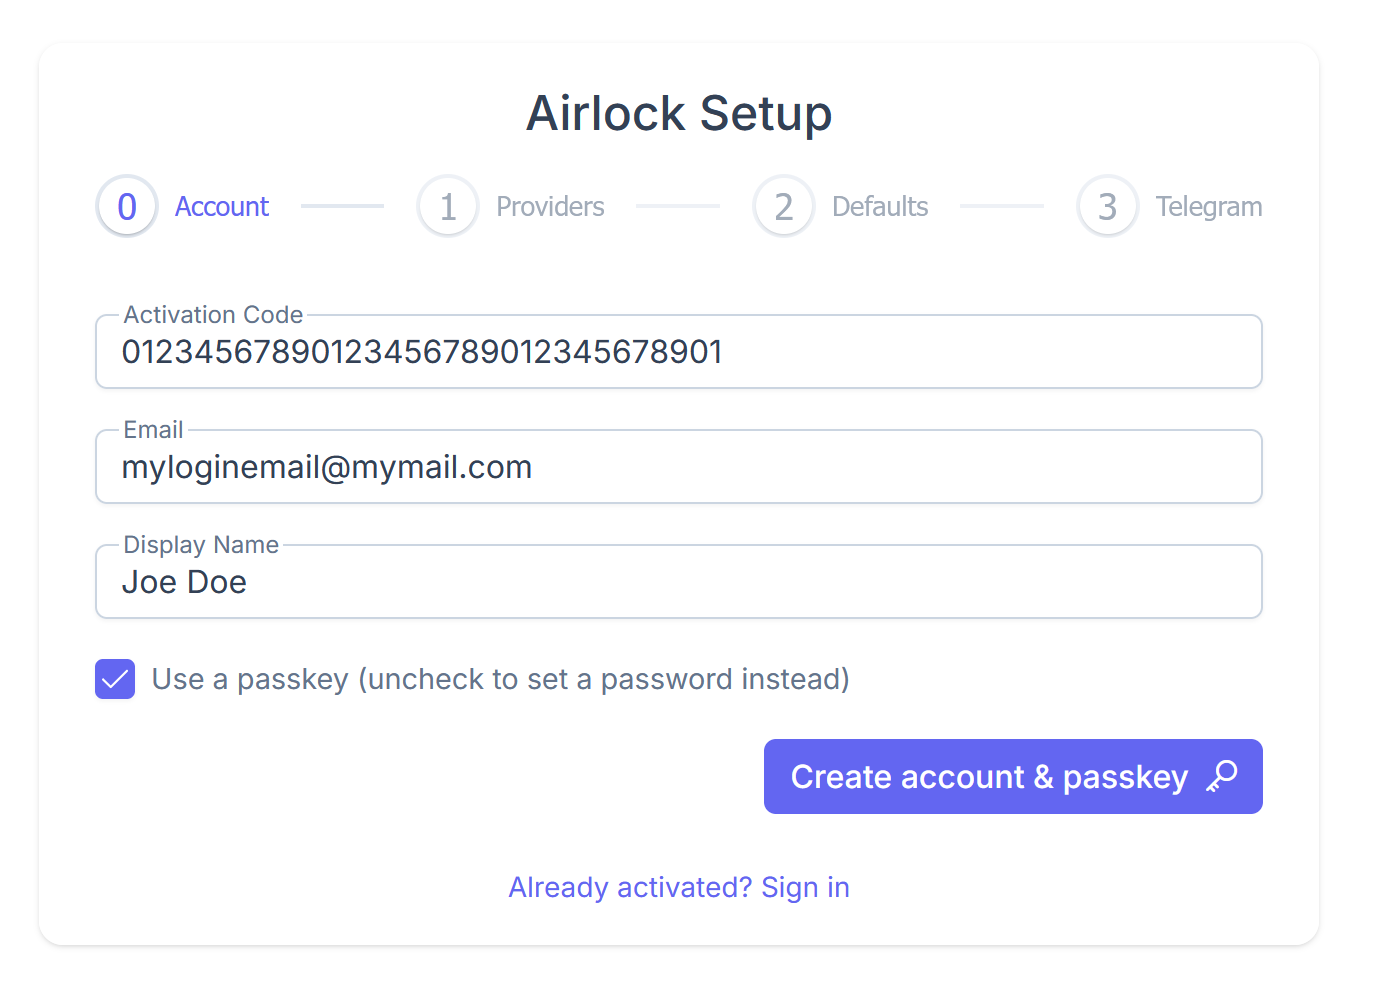
The installer prints the one-time activation code after its health check. If needed, retrieve it from the Airlock container:
docker compose exec airlock cat /var/lib/airlock/activation_code.txtOpen the Airlock URL, enter the activation code, email address, and display name. A passkey is selected by default; keep it selected to create a phishing-resistant sign-in credential, or clear it to set a password instead.
2. Add an AI provider
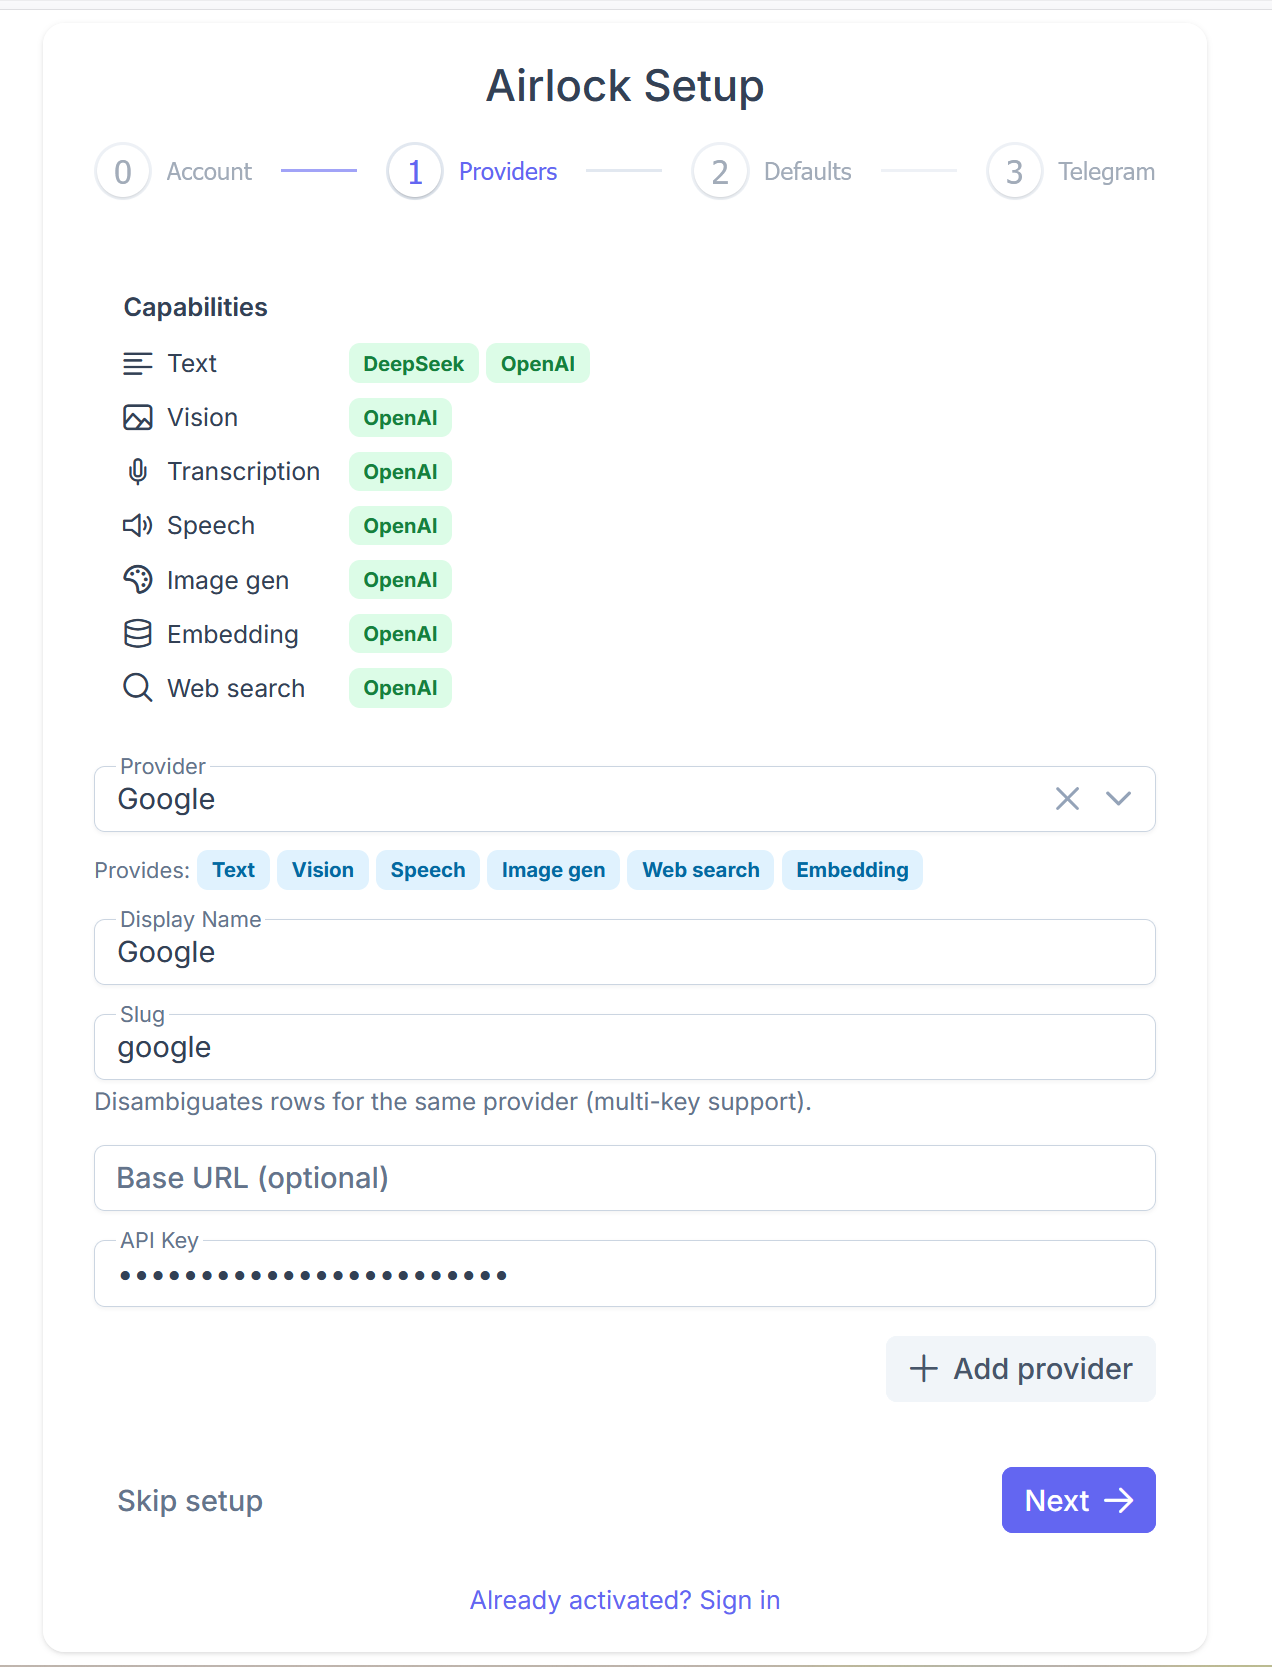
Select a provider, enter its API key, and add it. The setup page shows the capabilities each provider supports, such as text, vision, speech, image generation, embeddings, or web search.
You can add more providers later in Airlock settings. Use Skip setup if you want to configure providers later.
3. Choose default models
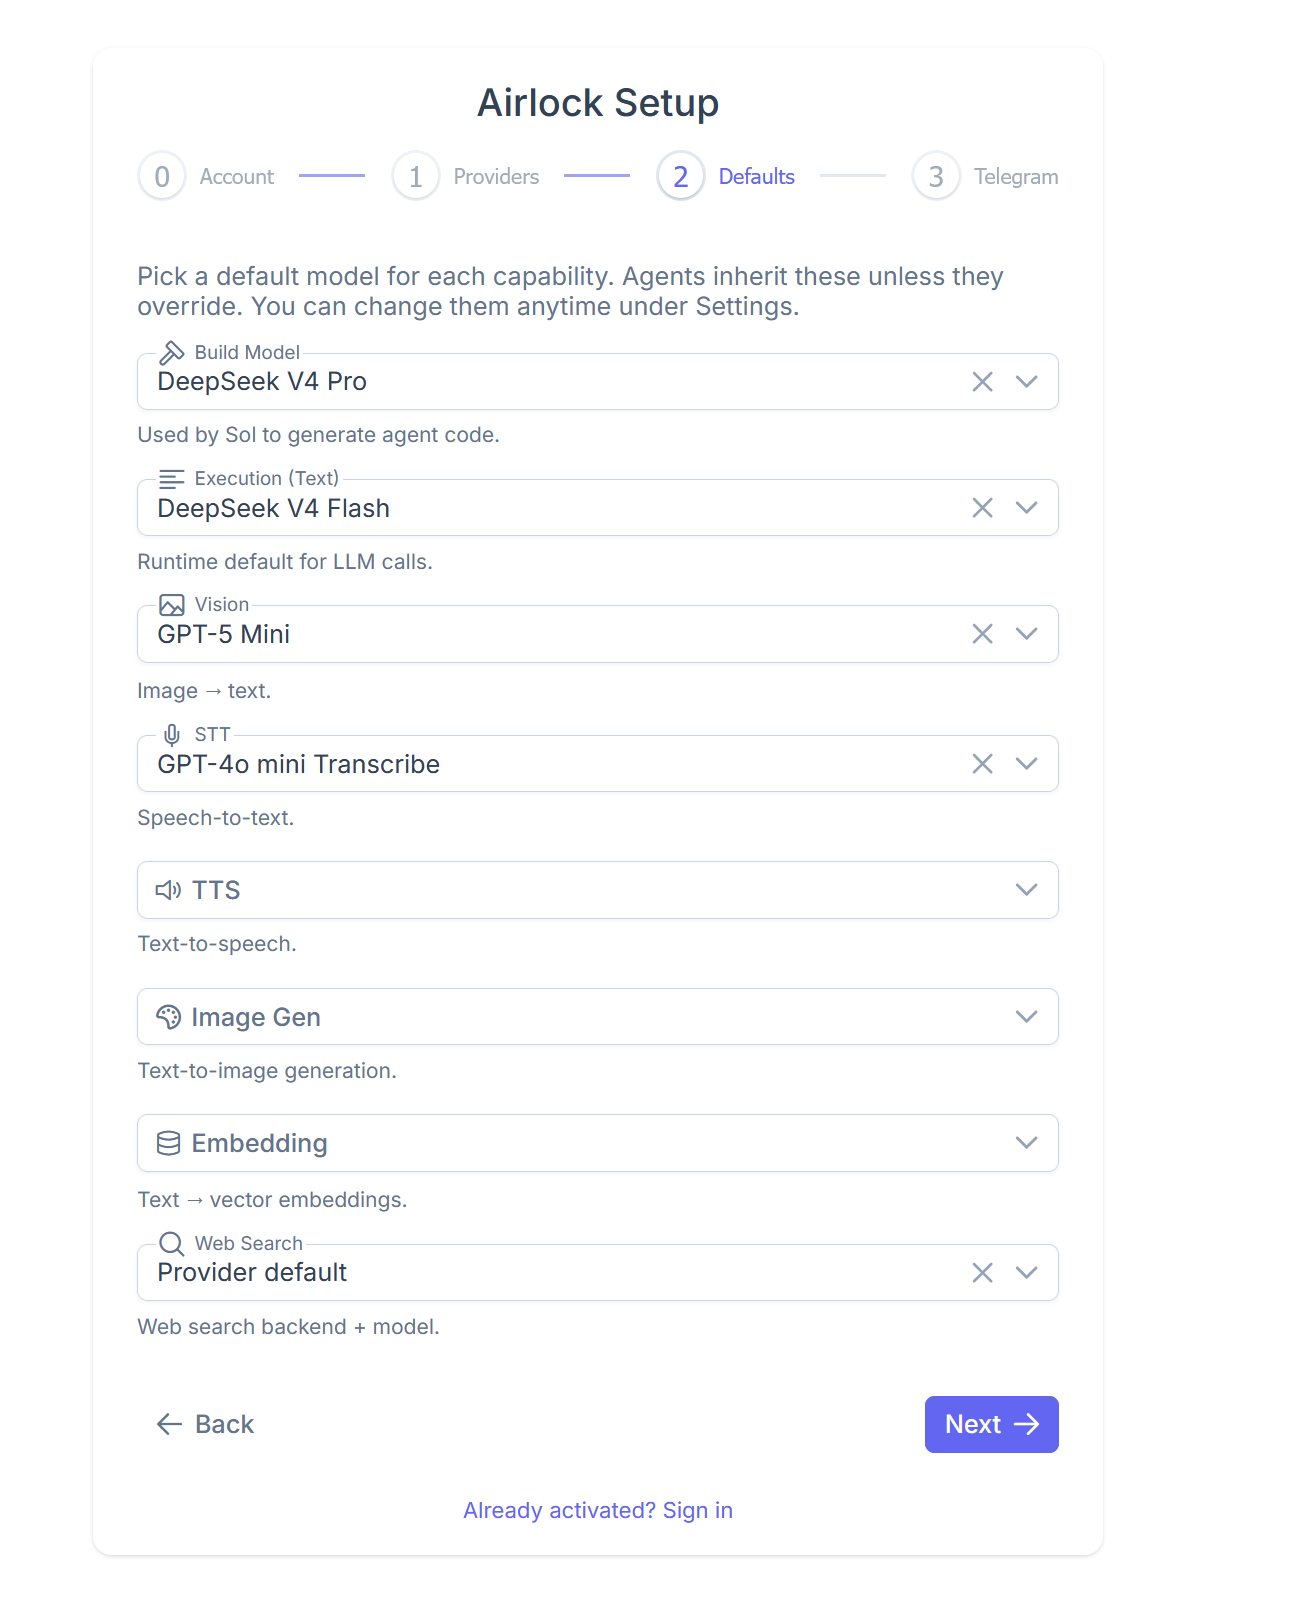
Choose default models for the capabilities that your apps need. Airlock uses these defaults when an app does not select a model itself. You can change them later under Settings.
Leave a capability unset when no configured provider supports it or when you do not need it yet.
4. Optionally connect Telegram
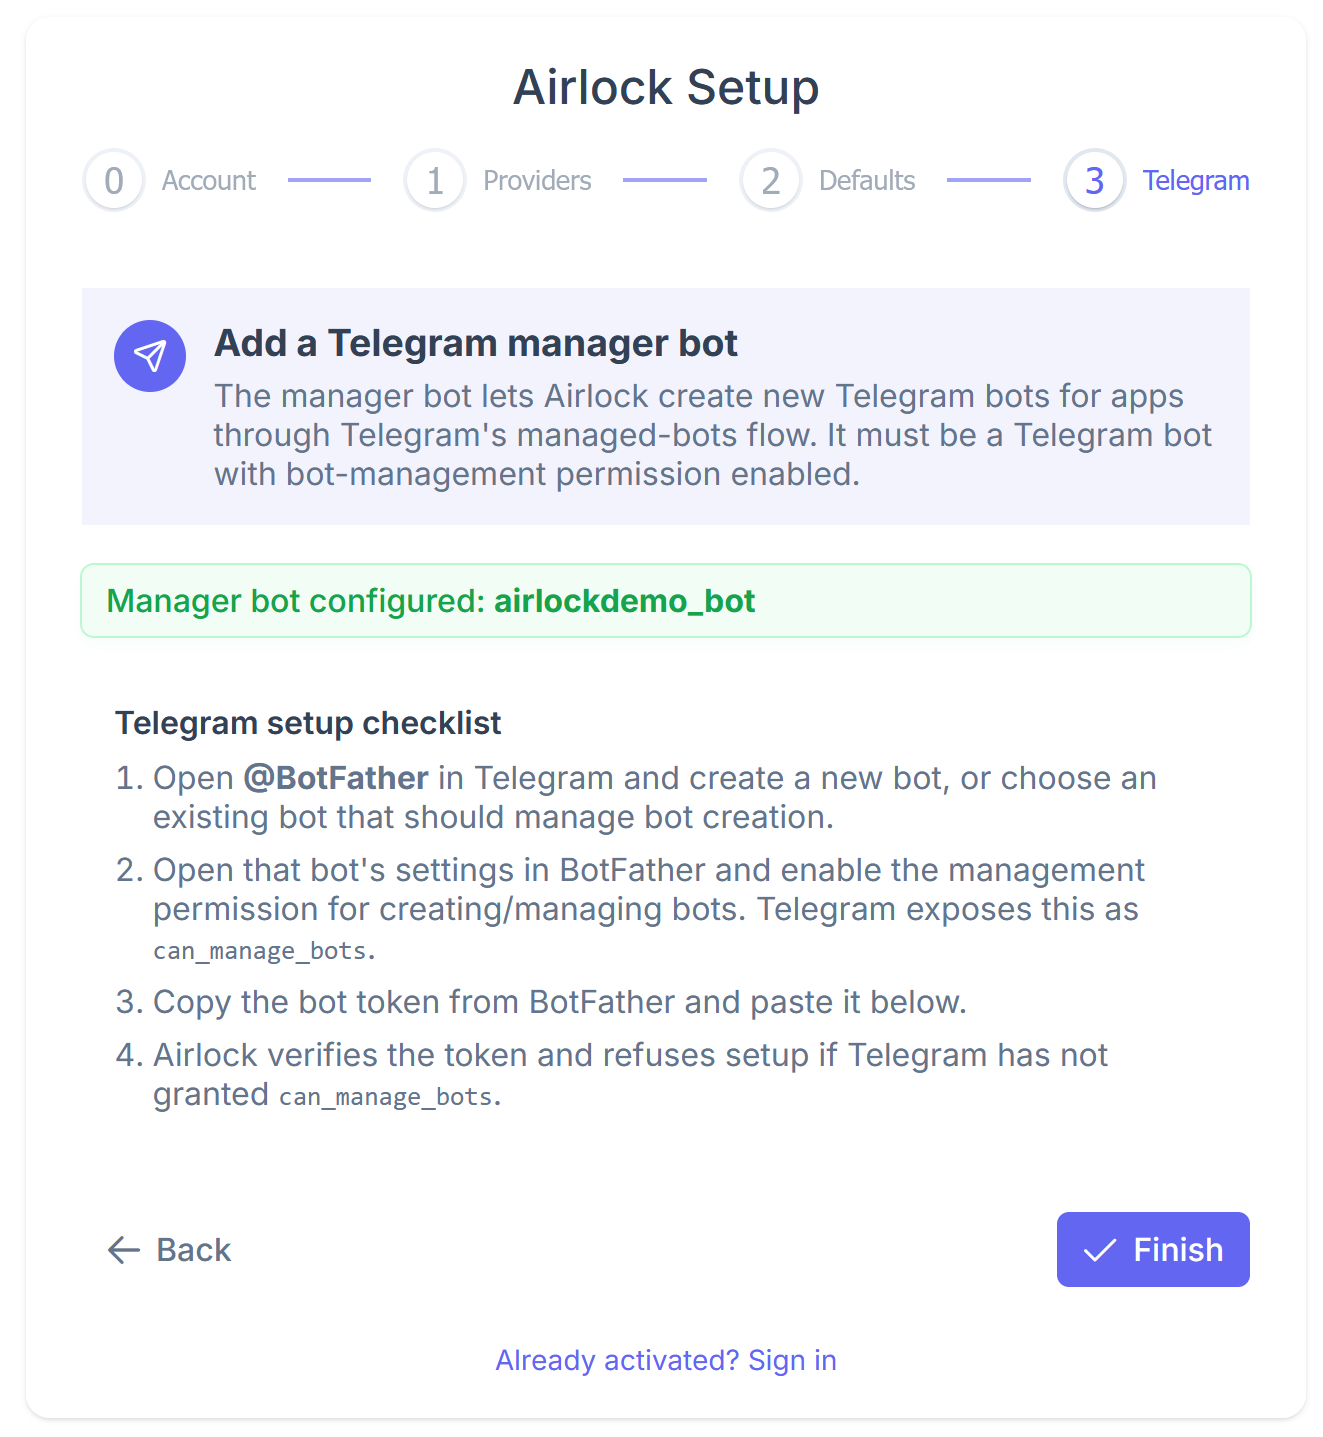
Airlock can use a Telegram manager bot to create and manage Telegram bots for your apps through Telegram’s managed-bots flow.
- Open @BotFather in Telegram and create a manager bot, or choose an existing bot.
- Select Open to launch BotFather’s web miniapp.
- Select the manager bot, or create a new one.
- Open Bot settings and enable the Bot Management Mode toggle.
- Copy the manager bot token into Airlock.
- Finish setup.
You can configure Telegram later if you do not need it during activation.
Next step
Sign in with the passkey or password you created. Airlock is ready for creating and using apps.